User Guide / Invoices
The new automated subscription option has just been added to Enterprised Cloud.
However, creating a new recurring or automatic subscription is as easy as a piece of cake!
Let’s see how it works.
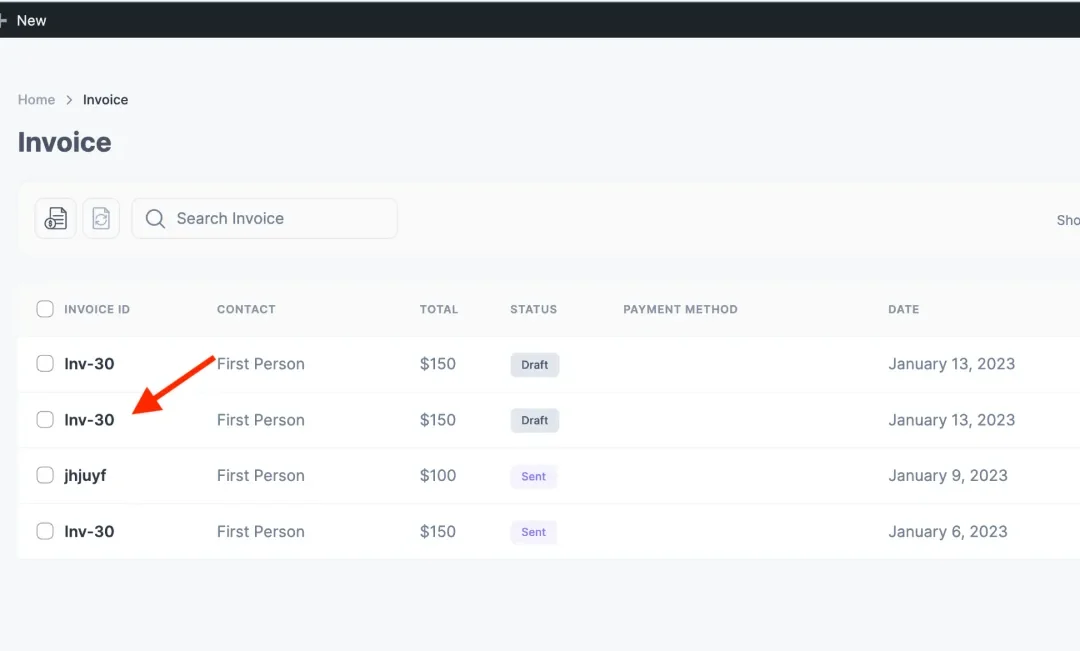
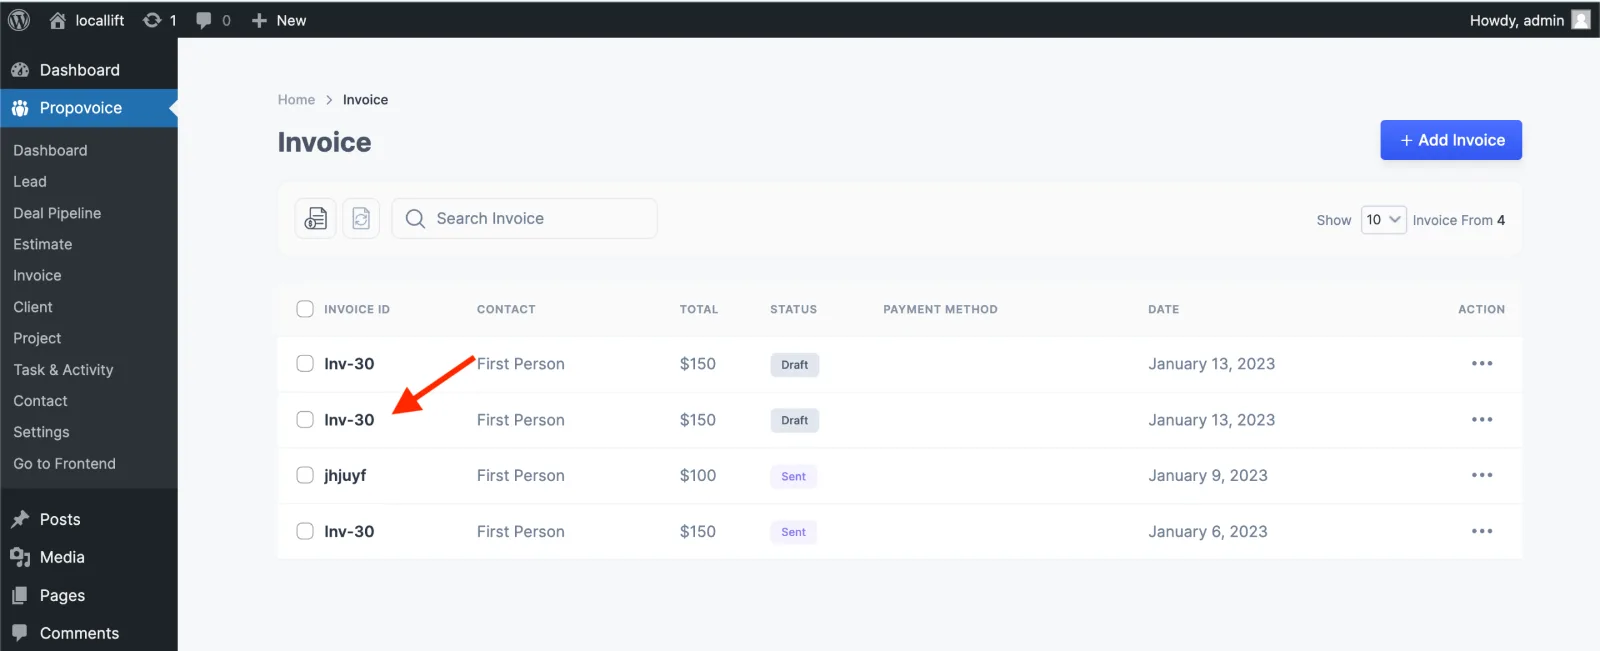
- Go to the Invoice from the Dashboard page.
- Now choose an Invoice if you have an invoice created already.
- You’ll see a side menu bar right beside the Invoice editor page. There’s a Recurring menu at the bottom right.
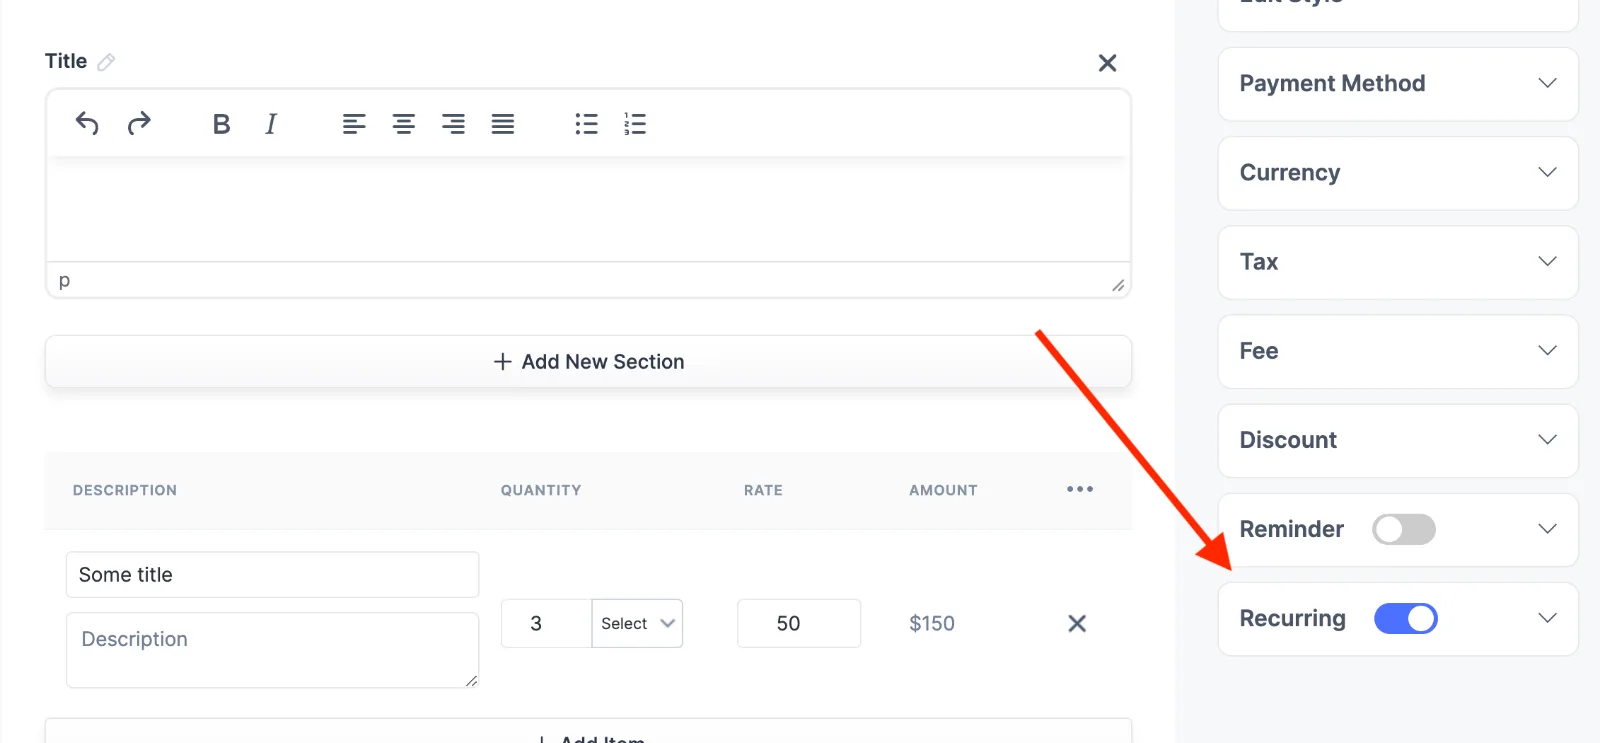
- Remember, Recurring Subscription is only available for Paypal and Stripe payment methods right now. So, make sure you have chosen either PayPal or Stripe as your payment method. You can do that from the Settings option.
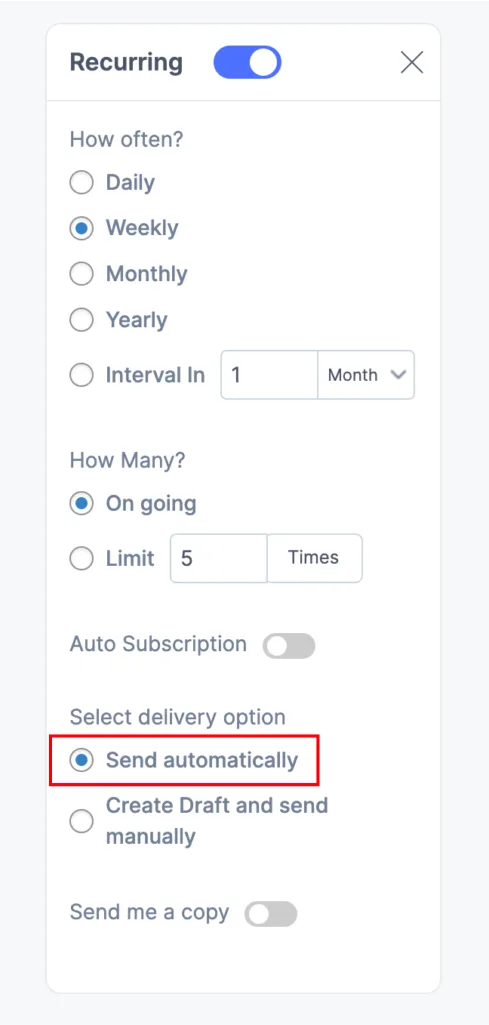
- Turn on the slide Recurring slide button. A recurring window will appear.
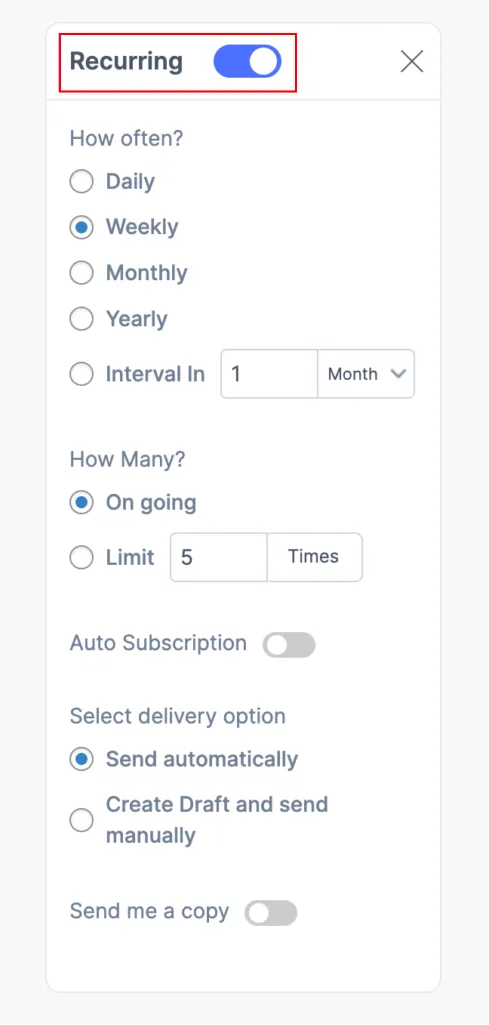
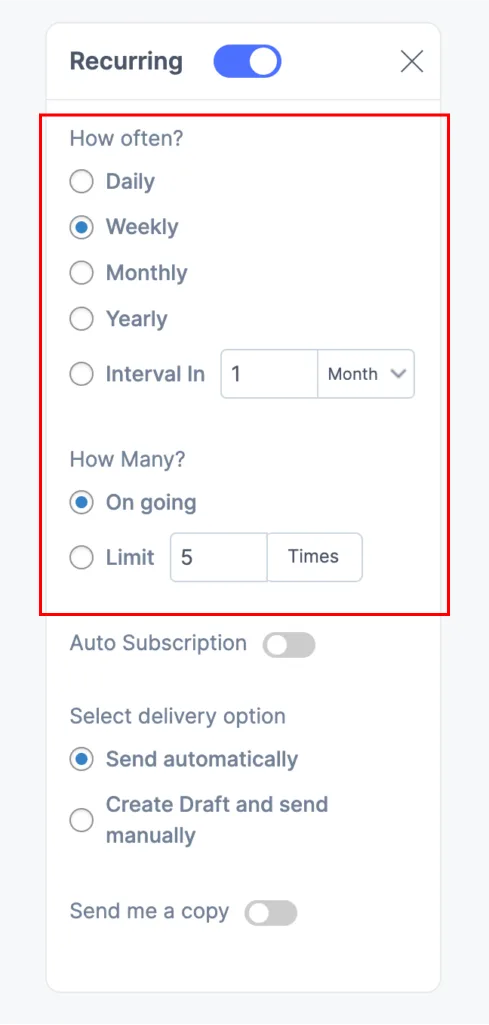
- You will have multiple options, such as recurring subscription frequencies, an interval option, ongoing subscription, subscription limitation, etc.
- To activate the Auto Subscription feature, turn on the slide button and there you go!
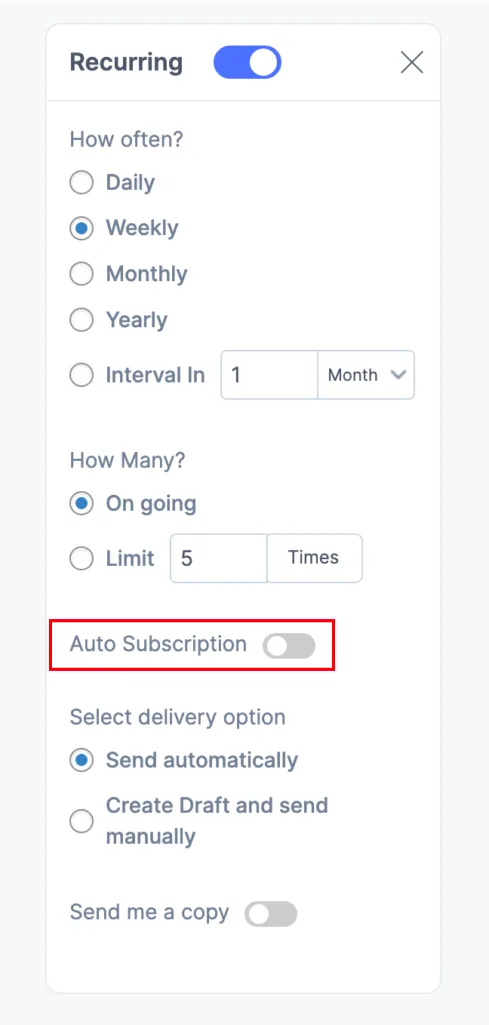
- Two recurring subscription delivery options are available: Send Automatically and Send Manually. Simply select Send Automatically.